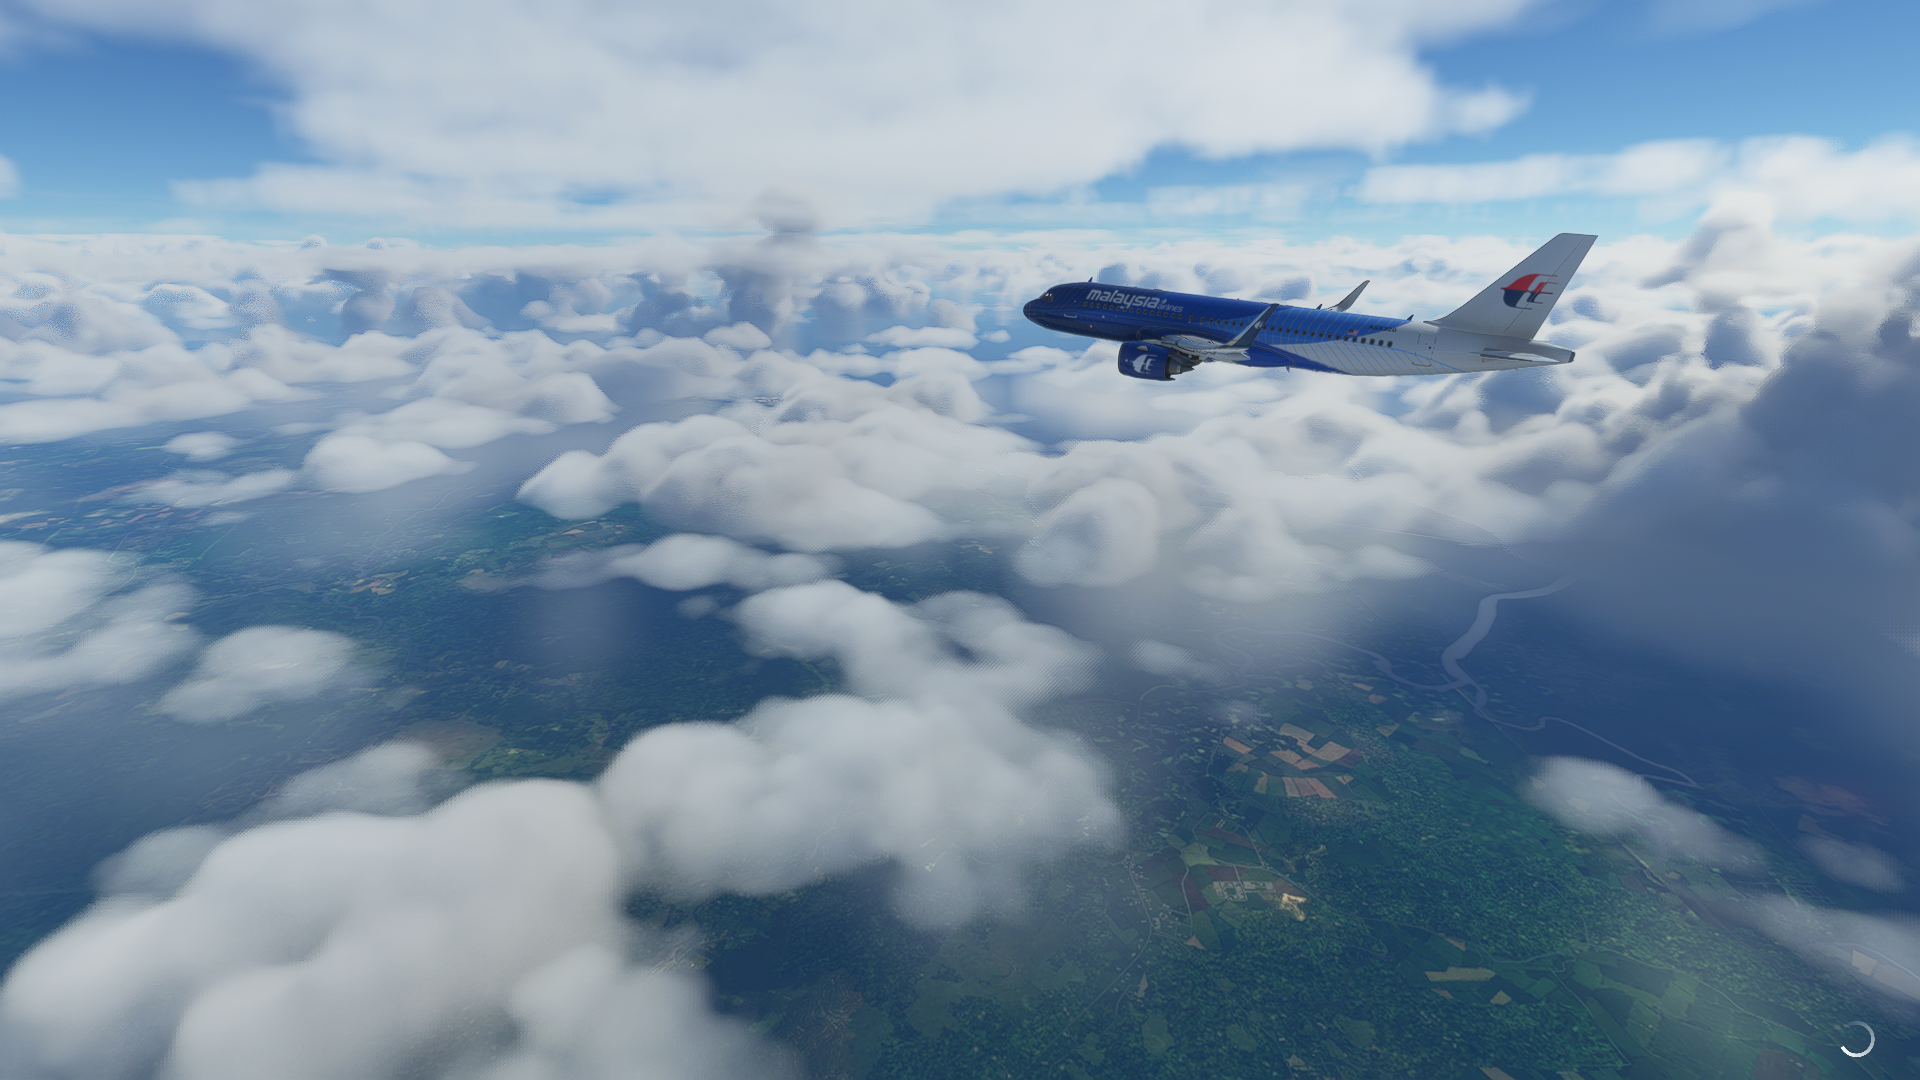
Microsoft Flight Simulator which is also known as Microsoft Flight Simulator 2020 has a lot of control to remember.
So this page specially group all those control so that you can start your career as a pilot.
You can also hit CTRL + F then type in the search box to find the key you’re looking for.
Misc. Key
- Toggle Fuel Pump – ALT + P
- Toggle Marker Sound – CTRL + 3
- Minus – CTRL + NUM SUB
- Plus – CTRL + NUM PLUS
- Toggle Pushback – SHIFT + P
- Request Fuel – SHIFT + F
- Display Nav Log – N
- Display Map – V
- Sim Rate – R
- Skip RTC – BACKSPACE
- New UI Window Mode – RIGHT ALT
- Toggle Delegate Control To Copilot – CTRL + ALT + X
Anti Ice
- Toggle Anti Ice – H
- Toggle Pilot Heat – SHIFT + H
Electrics
- Toggle Master Alternator – ALT + A
- Toggle Master Battery – ALT + B
- Toggle Master Battery & Alternator – SHIFT + M
Engine Instruments
- Decrease Cowl Flap – SHIFT + CTRL + C
- Increase Cowl Flap – SHIFT + CTRL + V
- Select Engine – E
- Auto Start Engine – CTRL + E
- Engine Autostop – SHIFT + CTRL + E
- Magneto – M
- Magnetos Both – SHIFT + ALT + F
- Magnetos Left – SHIFT + ALT + S
- Magnetos Off – SHIFT + ALT + Q
- Magnetos Right – SHIFT + ALT + D
- Magnetos Start – SHIFT + ALT + G
- Toggle Master Ignition Switch – ALT + I
Flight Instruments
- Select Airspeed Bug – SHIFT + CTRL + R
- Select Altitude Bug – SHIFT + CTRL + Z
- Toggle Autorudder – SHIFT + CTRL + U
- Set Altimeter – B
- Decrease Heading Bug – CTRL + DEL
- Increase Heading Bug – CTRL + INSERT
- Select Heading Bug – SHIFT + CTRL + H
- Set Heading Indicator – D
- Toggle Alternate Static – ALT + S
Fuel
- Toggle Fuel Dump – SHIFT + CTRL + D
- Fuel Selector 1 All – ALT + W
- Fuel Selector 1 Off – CTRL + ALT + W
- Toggle All Fuel Valves – ALT + V
Slew Mode
- Slew Translate Up (Slow) – F3
- Slew Translate Up (Fast) – F4
- Slew Translate Backward – NUM 2
- Slew Translate Forward – NUM 8
- Slew Translate Down (Fast) – F1
- Slew Translate Down (Slow) – A
- Slew Y-Axis Translation Freeze – F2
- Slew Roll Left – NUM 7
- Slew Roll Right – NUM 9
- Slew X-Axis Translation Freeze – NUM 5
- Slew Yaw Left – NUM 1
- Slew Yaw Right – NUM 3
- Slew Translate Left – NUM 4
- Slew Pitch Down (Fast) – F8
- Slew Pitch Freeze – F6
- Slew Pitch Down – NUM 0
- Slew Pitch Up – 9
- Slew Pitch Up (Fast) – F5
- Slew Pitch Up (Slow) – F7
- Slew Translate Right – NUM 6
- Toggle Slew Mode – Y
Camera Mode Switches
- Cockpit/External View Mode – END
- Toggle Drone – INSERT
Cockpit Camera
- Load Custom Camera 0 – ALT + 0
- Load Custom Camera 1 – ALT + 1
- Load Custom Camera 2 – ALT + 2
- Load Custom Camera 3 – ALT + 3
- Load Custom Camera 4 – ALT + 4
- Load Custom Camera 5 – ALT + 5
- Load Custom Camera 6 – ALT + 6
- Load Custom Camera 7 – ALT + 7
- Load Custom Camera 8 – ALT + 8
- Load Custom Camera 9 – ALT + 9
- Load Next Custom Camera – K
- Load Previous Custom Camera – SHIFT + K
- Save Custom Camera 0 – CTRL + ALT + 0
- Save Custom Camera 1 – CTRL + ALT + 1
- Save Custom Camera 2 – CTRL + ALT + 2
- Save Custom Camera 3 – CTRL + ALT + 3
- Save Custom Camera 4 – CTRL + ALT + 4
- Save Custom Camera 5 – CTRL + ALT + 5
- Save Custom Camera 6 – CTRL + ALT + 6
- Save Custom Camera 7 – CTRL + ALT + 7
- Save Custom Camera 8 – CTRL + ALT + 8
- Save Custom Camera 9 – CTRL + ALT + 9
- Decrease Cockpit View Height – DOWN
- Increase Cockpit View Height – UP
- Translate Cockpit View Backward – RIGHT ALT + DOWN
- Translate Cockpit View Forward – RIGHT ALT + UP
- Translate Cockpit View Left – LEFT
- Translate Cockpit View Right – RIGHT
- Cockpit Look Down – SHIFT + DOWN
- Cockpit Look Left – SHIFT + LEFT
- Cockpit Look Right – SHIFT + RIGHT
- Cockpit Look Up – SHIFT + UP
- Cockpit Quickview Up – CTRL + UP
- Cockpit Quickview Rear – CTRL + DOWN
- Cockpit Quickview Right – CTRL + RIGHT
- Cockpit Quickview Left – CTRL + LEFT
- Cockpit Quickview Cycle – Q
- Reset Cockpit View – CTRL + Space / F
- Cockpit View Upper – Space
- Unzoom Cockpit View – –
- Toggle Smart Camera – S
- Zoom Cockpit View – =
Drone Camera
- Toggle Drone Depth Of Field – F1
- Toggle Foreground Blur – F5
- Drone Top Down View – CTRL + SPACE
- Attach Drone To Next Target – CTRLl + PAGE UP
- Attach Drone To Previous Target – CTRL + PAGE DOWN
- Toggle Drone Auto Exposure – CTRL + F4
- Toggle Drone Auto Focus – F4
- Decrease Drone Rotation Speed – F3
- Decrease Drone Translation Speed – F1
- Decrease Drone Depth Of Field – F2
- Increase Drone Depth Of Field – F3
- Decrease Drone Exposure – CTRL + F2
- Increase Drone Exposure – CTRL + F3
- Increase Drone Rotation Speed – F4
- Increase Drone Translation Speed – F2
- Lock Drone To Next Target – T
- Lock Drone To Previous Target – SHIFT + T
- Translate Drone Backward – S
- Translate Drone Down – F
- Translate Drone Forward – W
- Translate Drone Left – A
- Translate Drone Right – D
- Translate Drone Up – R
- Reset Drone Roll – SPACE
- Reset Drone Target Offset – NUM 5
- Pitch Drone Down – NUM 2
- Roll Drone Right – NUM 9
- Pitch Drone Up – NUM 8
- Yaw Drone Left – NUM 4
- Yaw Drone Right – NUM 6
- Roll Drone Left – NUM 7
- Toggle Drone Follow Mode – TAB
- Toggle Drone Lock Mode – CTRL + TAB
- Increase Drone Zoom – NUM PLUS
- Decrease Drone Zoom – NUM SUB
- Toggle Plane Controls – C
External Camera
- Reset External View – CTRL + SPACE / F
- External Quickview Left – CTRL + LEFT
- External Quickview Rear – CTRL + DOWN
- External Quickview Right – CTRL + RIGHT
- External Quickview Top – CTRL + UP
- Unzoom External View – –
- Zoom External View – =
Fixed Camera
- Toggle Fixed Camera 10 – CTRL + SHIFT + 0
- Toggle Fixed Camera 1 – CTRL + SHIFT + 1
- Toggle Fixed Camera 2 – CTRL + SHIFT + 2
- Toggle Fixed Camera 3 – CTRL + SHIFT + 3
- Toggle Fixed Camera 4 – CTRL + SHIFT + 4
- Toggle Fixed Camera 5 – CTRL + SHIFT + 5
- Toggle Fixed Camera 6 – CTRL + SHIFT + 6
- Toggle Fixed Camera 7 – CTRL + SHIFT + 7
- Toggle Fixed Camera 8 – CTRL + SHIFT + 8
- Toggle Fixed Camera 9 – CTRL + SHIFT + 9
- Reset Fixed Camera – F
- Previous Fixed Camera – SHIFT + A
- Next Fixed Camera – A
Instrument Views
- Previous Instrument View – SHIFT + A
- Next Instrument View – A
- Toggle Instrument View 10 – CTRL + 0
- Toggle Instrument View 1 – CTRL + 1
- Toggle Instrument View 2 – CTRL + 2
- Toggle Instrument View 3 – CTRL + 3
- Toggle Instrument View 4 – CTRL + 4
- Toggle Instrument View 5 – CTRL + 5
- Toggle Instrument View 6 – CTRL + 6
- Toggle Instrument View 7 – CTRL + 7
- Toggle Instrument View 8 – CTRL + 8
- Toggle Instrument View 9 – CTRL + 9
- Select Next POI – PGUP
- Reset Smartcam – CTRL + F
- Set Custom Smartcam Target – T
- Next Smartcam Target – PGUP + CTRL
- Camera AI Player – HOME + CTRL
- Previous Smartcam Target – PGDOWN + CTRL
- Toggle Follow Smartcam Target – PGDOWN
- Unset Custom Smartcam Target – SHIFT + T
Auto-Pilot
- Autopilot Airspeed Hold – Alt + R
- Decrease Autopilot Reference Altitude – CTRL + PGDOWN
- Increase Autopilot Reference Altitude – CTRL + PGUP
- Toggle Autopilot Approach Hold – CTRL + A
- Toggle Autopilot Attitude Hold – CTRL + T
- Toggle Autopilot Localizer Hold – CTRL + O
- Toggle Autopilot Mach Hold – CTRL + M
- Toggle Autopilot Master – Z
- Autopilot N1 Hold – CTRL + S
- Decrease Autopilot N1 Reference – CTRL + END
- Increase Autopilot N1 Reference – CTRL + HOME
- Autopilot Nav1 Hold – CTRL + N
- Decrease Autopilot Reference Airspeed – SHIFT + CTRL + DEL
- Increase Autopilot Reference Airspeed – SHIFT + CTRL + INSERT
- Decrease Autopilot Reference VS – CTRL + END
- Increase Autopilot Reference VS – CTRL + HOME
- Toggle Autopilot Wing Leveler – CTRL + V
- Autopilot Off – SHIFT + ALT + Z
- Autopilot On – ALT + Z
- Arm Auto Throttle – SHIFT + R
- Auto Throttle To GA – SHIFT + CTRL + G
- Toggle Avionics Master – PGUP
- Toggle Flight Director – CTRL + F
- Toggle Yaw Damper – CTRL + D
Brakes
- Brakes – NUM DECIMAL
- Left Brake – NUMMULT
- Right Brake – NUM SUB
- Toggle Parking Brakes – CTRL + NUM DECIMAL
Primary Control Surfaces
- Aileron Left (Roll Left – NUM 4
- Aileron Right (roll Right) – NUM 6
- Center Ailer Rudder – NUM 5
- Elevator Down (Pitch Down) – NUM 8
- Elevator Up (Pitch Up) – NUM 2
- Toggle Water Rudder – CTRL + W
- Rudder Left (Yaw Left) – NUM 0
- Rudder Right (Yaw Right) – ENTER
Secondary Control Surfaces
- Decrease Flaps – F6
- Extends Flaps – F8
- Increase Flaps – F7
- Retract Flaps – F5
- Toggle Spoilers – NUM DIVIDE
Control Trimming Surfaces
- Aileron Trim Left – CTRL + NUM 4
- Aileron Trim Right – CTRL + NUM 6
- Rudder Trim Left – CTRL + NUM 0
- Rudder Trim Right – CTRL + Enter
- Elevator Trim Down (Nose Down) – NUM 7
- Elevator Trim Up (Nose Up) – NUM 1
Landing Gear
- Toggle Landing Gear – G
- Gear Down – CTRL + G
- Toggle Tail Wheel Lock – SHIFT + G
Exterior Lights
- Toggle Landing Lights – CTRL + I
- Landing Lights Down – SHIFT + CTRL + NUM 2
- Landing Light Home – SHIFT + CTRL + NUM 5
- Landing Light Left – SHIFT + CTRL + NUM 4
- Landing light Right – SHIFT + CTRL + NUM 6
- Landing light Up – SHIFT + CTRL + NUM 8
- Toggle Strobes – O
- Toggle Beacon Light – ALT + H
- Toggle Nav Light – ALT + N
- Toggle Taxi Lights – ALT + J
Interior Lights
- Toggle Flashlight – Alt + l
- Toggle Lights – l
Other
- Toggle Active Pause – PAUSE
- Toggle Basic Control Panel – CTRL + C
- Clear Search – DEL
- Toggle Pause – ESC
- Select 1 – Alt + F1
- Select 2 – Alt + F2
- Select 3 – Alt + F3
- Select 4 – Alt + F4
- Display Checklist – SHIFT + C
- Next Toolbar Panel – .
- Previous Toolbar Panel – /
- Back To Main Menu – END
- Close Menu – BACKSPACE
- Fly – ENTER
- Change Aircraft – F11
- Liveries – F12
- See Specifications – F10
- Help Menu – TAB
- Restart Free Flight – HOME
- Restart Activity – HOME
Mixture
- Decrease Mixture – SHIFT + CTRL + F2
- Increase Mixture (Small) – SHIFT + CTRL + F3
- Set Mixture Lean – SHIFT + CTRL + F1
- Set Mixture Rich – SHIFT + CTRL + F4
Propeller
- Decrease Propeller Pitch – CTRL + F2
- Propeller Pitch Hi – CTRL + F4
- Increase Propeller Pitch – CTRL + F3
- Propeller Pitch Lo – CTRL + F1
Throttle
- Throttle Cut – F1
- Decrease Throttle – F2
- Increase Throttle – F3
ADF
- ADF – SHIFT + CTRL + A
Comms
- Com Radio – C
- Set Com1 Standby – SHIFT + ALT + X
- Com1 Switch To Standby – ALT + U
DME
- DME – F
NAV
- Decrease NAV1 Frequency (Fract, Carry) – SHIFT + CTRL + PGDOWN
- Increase NAV1 Frequency (Fract, Carry) – SHIFT + CTRL + PGUP
- NAV1 Swap – SHIFT + CTRL + N
- NAV Radio – N
VOR
- Decrease VOR1 OBS – SHIFT + CTRL + END
- Increase VOR1 OBS – SHIFT + CTRL + HOME
- VOR OBS – SHIFT + V
XPNDR
- Transponder – T
- Set Transponder – SHIFT + ALT + W
- Display ATC – Scroll Lock
- ATC Panel Choice 0 – 0
- ATC Panel Choice 1 – 1
- ATC Panel Choice 2 – 2
- ATC Panel Choice 3 – 3
- ATC Panel Choice 4 – 4
- ATC Panel Choice 5 – 5
- ATC Panel Choice 6 – 6
- ATC Panel Choice 7 – 7
- ATC Panel Choice 8 – 8
- ATC Panel Choice 9 – 9
- Frequency Swap – X
- Increase Wheel Speed – SHIFT